My sister, Anna, just had her very first job interview, and she allowed me to do her makeup for it. I wanted to make it nice and peachy for the summer time, while not clashing with her gorgeous red hair. Anna's really not a heavy makeup kind of person, for her the natural-er a look is, the better. Keeping that in mind, I created natural looking makeup that really brought out her best features on her face.
Face~
1. Prime

2. Conceal

Since Anna has dark circles from watching K-Dramas all night long, I used a peach/salmon toned concealer to brighten and conceal the purple shade of her under eyes. I'm using the Garnier Skin Renew Anti-Dark Circle Concealer, because it has brightening serums in it, which is a must for discolored areas.
3. Base

Anna has a much lighter and cooler skin tone then I do, so I decided to use a cc cream, because it matches your skin tone perfectly every time. I used my fingers to blend it into her skin to give it an uber natural look, plus I didn't want to cover her adorable freckles. Tonymoly Pure Aura Luminous Pure Aura CC Cream is perfect for paler skin tones, because it whitens the look of skin.
4. Set

To insure that her skin wouldn't get oily or sweaty, since its summer, I set her base makeup with some of the Rimmel Stay Matte Pressed Powder in translucent light. I like this powder because it contains some pampering ingredients.
5. Blush

To bring in some warmth to the skin, I applied the NYX Blush in Pinched on her cheeks with a fluffy powder brush. Pinched has a really nice golden shimmer to it, which is perfect for giving Anna's face a touch of a sun kissed glow.
Eyes~
1. Prime

Although Anna has dry skin, her eyelids tend to get oily and crease throughout the day, so I'm using my holy grail Too Faced Shadow Insurance Primer. This stuff really helps keep your eye shadows from sliding down your face, which doesn't leave too good of a first impression.
2. Base

I know, I'm super crazy about making sure that Anna's makeup wouldn't budge, but hey, that's what caring sister do lol. I used the Maybelline Color Tattoo in Beige-ing Beauty as my base, which is a pale cream color with golden flecks in it. Gold is one of those colors that brightens up your skin tone like magic, hence I used gold flecked/based products throughout this tutorial.
3. Crease

Since Anna has paler skin, I used the light brown shade for her crease and the medium brown color from the L'Oreal Cupa Joe Quad (which is the best neutral matte quad I have ever tried) on her upper and lower lash line. For the crease, I used the Elf Professional Eye Shadow Brush, for the liner I used the Ecotools Angled Eye Brush.
4. Tight line

Since heavy eyeliner just looks to heavy for Anna, I tight lined with a waterproof eye pencil. I used NYX's Jet Black on the tight line and smudged it out afterwards to keep it from smearing.
5. Lashes

I used a lengthening brownish black mascara on her upper lashes and left the bottom ones bare, since her eyes water easily. I used the Maybelline Lash Stiletto mascara to give her a natural, yet bolder look to her red eyelashes.
Lips~
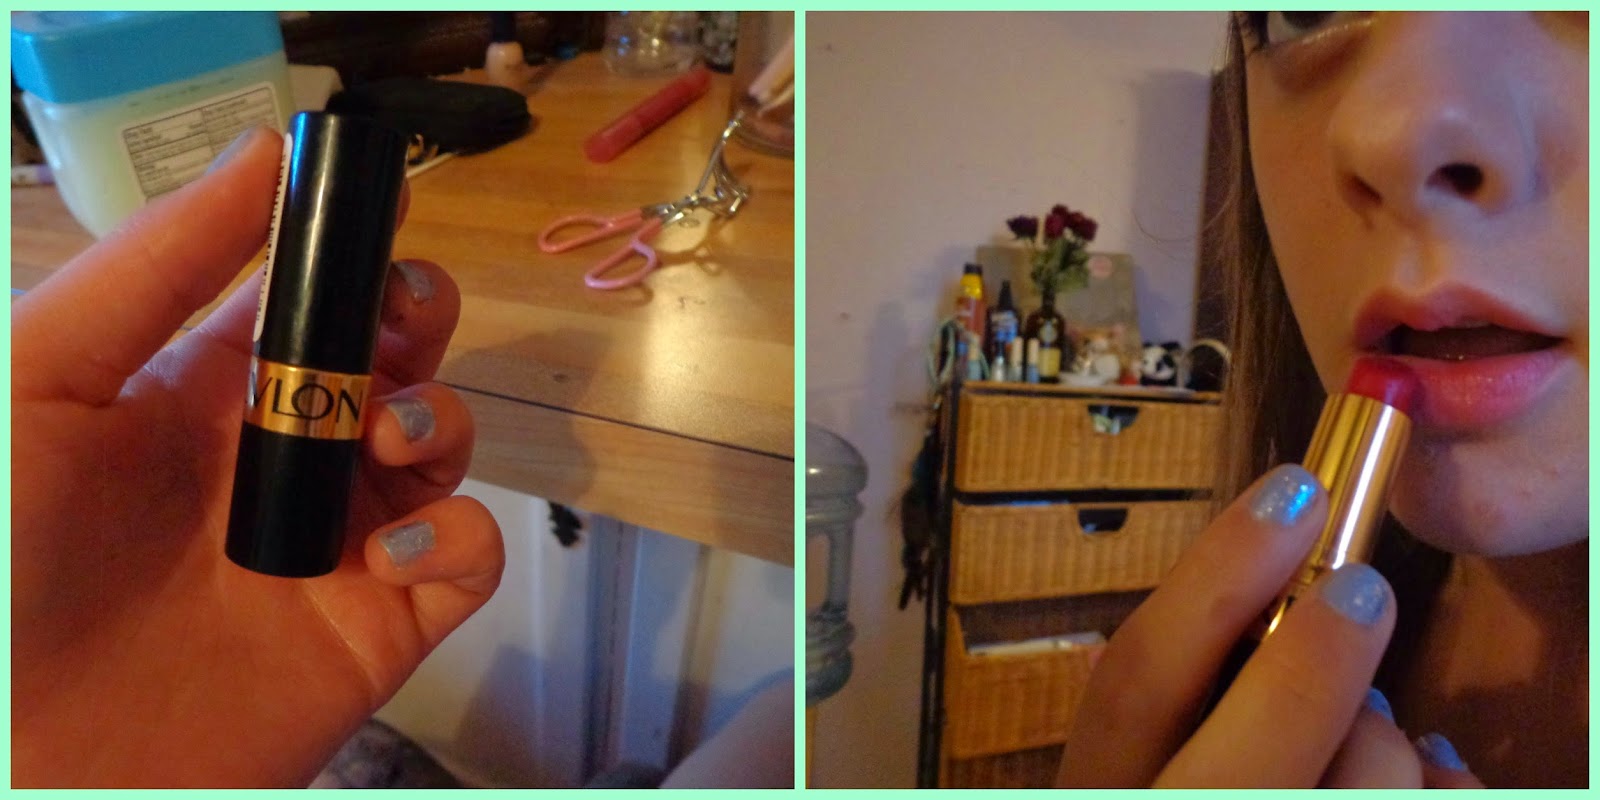
1. Glaze

On her lips, I chose a peachy, natural pink shade that really compliments the gold tones used in this look. I applied it with my fingers to give it a natural, balmy look.
Finished Look~

Isn't she so prutty? I hope this helped you in some way figuring out what kind of makeup is good for a job interview if you like that natural-er style. Props goes to Anna for being my guinea pig for today's tutorial! I wish you all the best of luck on your job interviews! If you have any questions, leave it in the comments section down below, and I'll see you next week for a F(x) makeup tutorial. Love ya! Muah
Gracie ^.^

Song of this post-